In Step 2, you will define the site’s ground conditions.
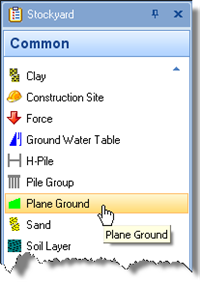
Returning to the Stockyard, click on the button labelled Common to open the Common group, where you will find (amongst other items) Plane Ground.
Hold the Ctrl key down and click on the item labelled “Plane Ground” to create it.
In the Property Inspector, change the Name of the Plane Ground to “Horizontal Ground” but leave its other (default) properties unchanged.
Back in the Stockyard, open the Materials group so that you can create a Clay. You may need to click one of the small buttons at the bottom of the Stockyard to display this group. You can move the mouse over each button in turn to display a tooltip indicating which panels they control. Create the Clay by Ctrl-clicking on it.
In the Property Inspector, change the Name of the new Clay to “London Clay”, and enter the following properties: under Drained Strength, angle of shearing resistance 23̊; under Undrained Strength, minimum undrained strength 100 kPa. The maximum undrained strength will automatically change to 100 kPa also.
In the Stockyard, open the Geotechnical Constituents group and create both a Soil Layer and a Borehole.
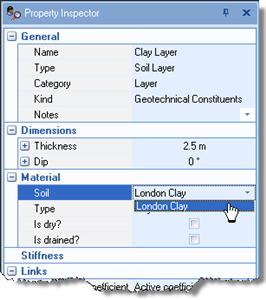
Select the layer in the Project Manager and then (in the Property Inspector) change its Name to “Clay Layer”, its Thickness to 25m, and select “London Clay” in its Soil box.
Now select the borehole in the Project Manager and then (in the Property Inspector) rename it “Wembley Borehole” and, under Layers > Next, select “Clay Layer”.
A copy of this step can be found at [Projects]\Tutorial 2\Step 2.rpx.
Step 3 - create the pile