In Step 6, you will perform the calculations and review the results.
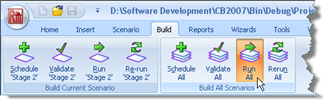
Run the calculation by selecting the Build tab on Repute’s ribbon and then clicking on the Run All button.
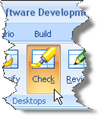
Repute will perform all the calculations that you have specified (i.e. Calculations 1 and 2) and then change to its Checking Desktop (which displays the Workbook, Graph Paper). You can switch to this display at any time by clicking on the Check button on the View tab of Repute’s ribbon.
Your screen will now look something like this:
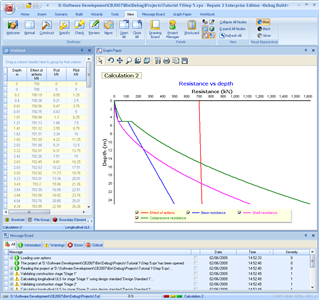
The Graph Paper panel shows:
the effect of the actions E (equal to the sum of the applied forces and the self-weight of the pile) increasing with depth
the separate components of shaft and base resistances, Rs and Rb, also increasing with depth
the total compressive resistance, Rc = Rs + Rb, exceeding the effect of actions (E ≤ Rc) at a depth of about 15.15 m
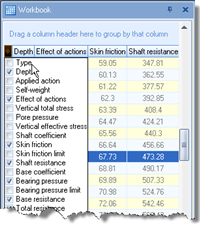
The Workbook panel shows the same information, but in tabular format. The Workbook contains a lot more information than is initially shown. To display this additional information, click on the asterisk * button in the top-left-hand corner of the Workbook (to the left of the heading ‘Depth’) and select the data you want to see.
To view the results of the first calculation, select Calculation 1 in the Project Manager. Repute will automatically update the Workbook and Graph Paper with this calculation’s data. (To display the Project Manager, selecting the View tab on Repute’s ribbon and then click on the Project Manager button.)
Step 7 - produce a report