In Step 7, you will produce a report summarising the calculations.
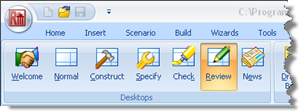
Display Repute’s reporting tools by selecting the View tab on Repute’s ribbon and then clicking on the Review button.
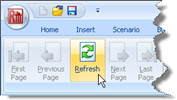
Next, create a report by selecting the Reporter tab on Repute’s ribbon and clicking on the Refresh button.
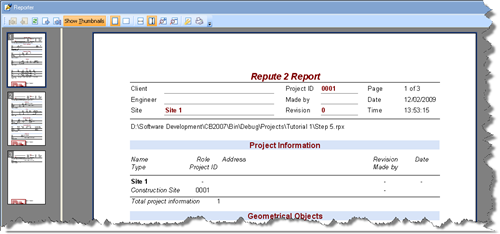
Repute will generate the requested report and display it, together with a set of thumbnails, in the Reporter.
You can navigate around the report using the controls on the Reporter tab on Repute’s ribbon: First Page, Previous Page, Next Page, and Last Page. You can jump to specific pages by clicking on the thumbnails on the left-hand side of the Reporter.
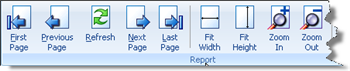
You can also re-size the report using the Fit Width, Fit Height, Zoom In, and Zoom Out controls.
You can choose what to include in your report by selecting or deselecting individual items in the Report Elements group, then clicking the Refresh button.

You can edit the report’s layout using the Modify command (this is only available in the Enterprise Edition of the program).
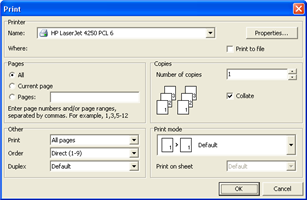
Finally, you can output the report onto paper using the Print command and choosing from the options provided in the dialog box that appears on your screen.
Step 8 - close the project