
In Step 5, you will perform the calculation and review the results.
Run the calculation by selecting the Build tab on Repute’s ribbon and clicking on the Run ‘Stage 1’ button.
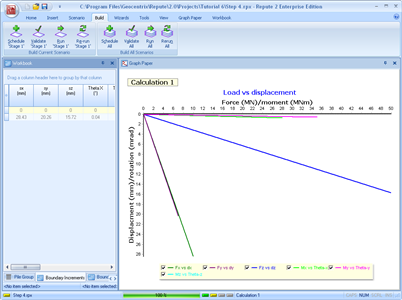
Repute will perform all the calculations that are linked to Stage 1 (in this case, just Boundary Element Analysis 1) and then change its display to show its Checking Desktop (which displays the Workbook and the Graph Paper). You can switch to this display at any time by clicking on the Check button on the View tab of Repute’s ribbon.
Your screen will now look something like the image below:
You can change the graph that appears on the screen by selecting the Graph Paper tab on Repute’s ribbon and clicking on the any of the available graphs that are listed there.
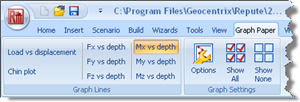
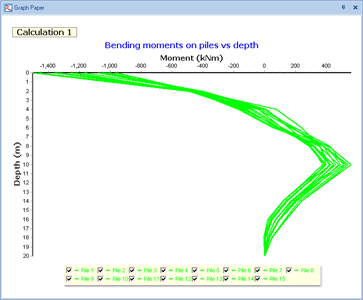
For example, if you click on the Mx vs depth button, the graph will change to look something like the image below:
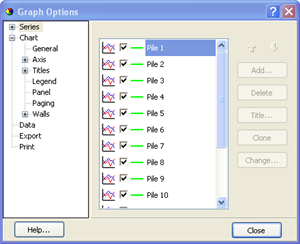
You can change the appearance of the graph by experimenting with the extensive set of controls provided via its Options box. To display the Graph Options box, click on the Options button on the graph paper tab. Click on the Help... button to find instructions for using this box to customize your graph.
Step 6 - close the project